Description:
Thanks to our Tipeez you don't have to build the nail yourself anymore: stick, varnish, done! So you have more time for nail-art :-)
OR: use Tipeez as Press-ons by making a full set of nails on the Tipeez and sticking them in place with Glue Tabs.
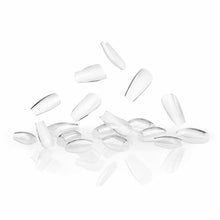
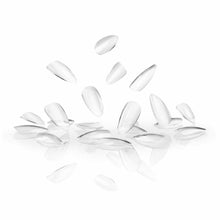
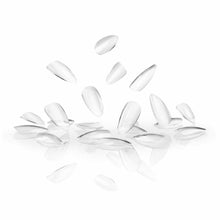
Available now in two lengths: the old familiar Tipeez are the "Long" Tipeez, and in addition we now have the mid-length "Medium" Tipeez.
Both types of the Long Tipeez come in a set of 500 pieces, size 0 to 9, with 50 pieces of each size.
The Tapered Square Medium Tipeez come in a set of 300 pieces, size 0 to 9, with 25 pieces of each size, but sizes 5 and 6 have 50 pieces of each.
The Pointed Almond Medium Tipeez come in a set of 300 pieces, sizes 0 to 11, with 25 pieces of each size.
How to apply
When placing a set of Tipeez on the nails, it is very important that you follow the right steps:
Prepare the nail and do the manicure
Choose the right size Tipeez
Roughen the inside of the Tipeez with a milling bit with Sanding Bands
Put a thin layer of Prep on all nails
Put a very thin layer of Primer and wait until it dries.
Put a thin layer of Natural Base or Builder Base on all nails and cure it in the LED Lamp for 30sec.
Now you glue the Tipeez one by one. You can do this with Builder Base, Natural Base, Rubber Base, Sculpting Gel or Acrygel.
Put a layer of the product you have chosen on the inside of the Tipeez
Stick the Tipeez on the nail, start at the cuticle. Make sure you don't have any air bubbles
Hold the Tipeez and ask your client to shine the Mini Led lamp on the nail for 10 sec. Then your customer can put her hand in the lamp whilst you continue with the other hand - you can also work with our Tipeez clamps.
With the e-file bit "Coarse Thin Cone" you make the edges of the Tipeez smooth with the nail.
If necessary, you can now cut or file the Tipeez to the desired length, then roughen them up slightly to apply the color and top coat.


